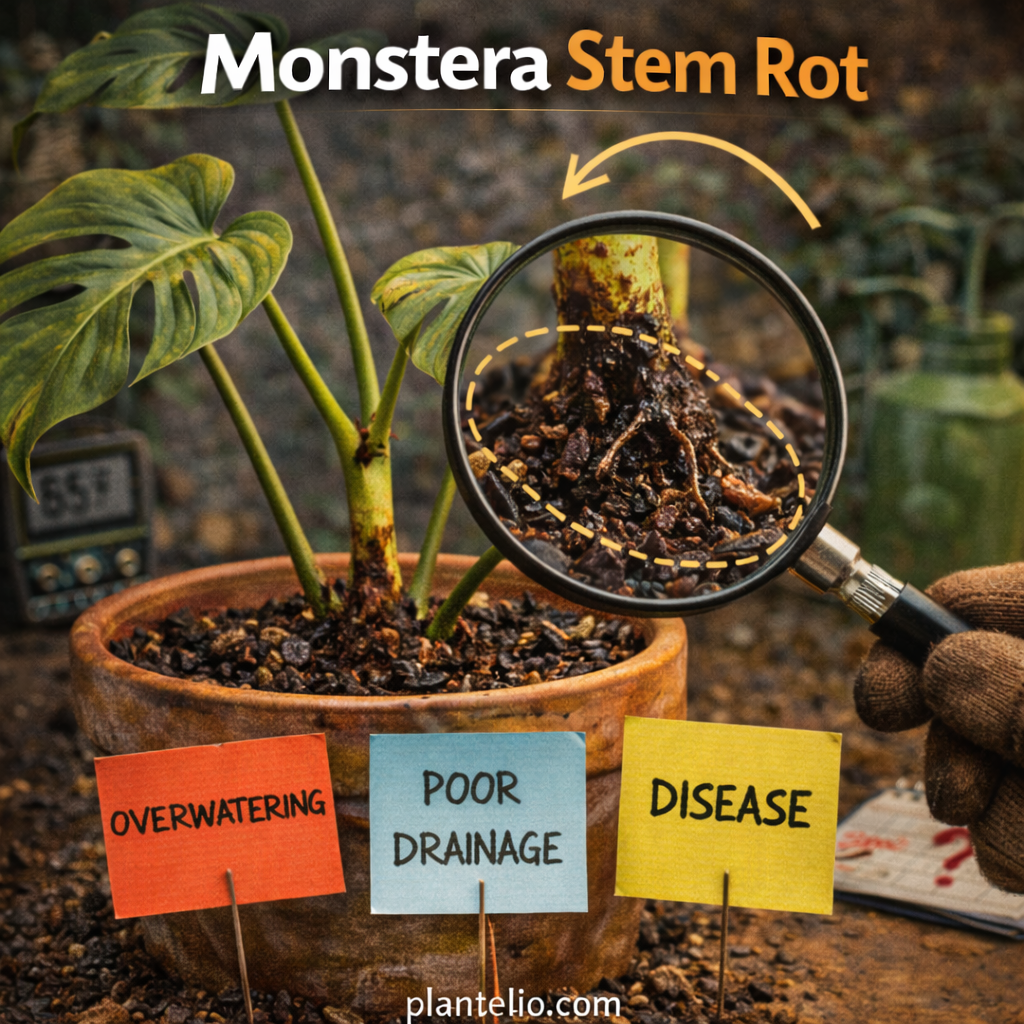
Monstera Stem Rot: Inspecting Soft Tissue and Stem Damage
A dark area on a Monstera stem is not enough to diagnose rot. First identify the part affected and distinguish a firm surface mark from tissue that is soft, wet or collapsing. This guide focuses on the stem inspection; use the separate root guide when the problem is below the growing medium.
Locate the affected part
Trace a leaf stalk back to the main stem so you can describe the location accurately. Record whether the change is on a petiole, at a leaf attachment, on the main stem or near the medium surface. A loose, dry covering and deteriorating main-stem tissue are different observations.
Photograph the area from more than one angle without peeling or cutting tissue to expose it. Include the whole plant, the nearby support and the pot. If a tie or fastener contacts the area, record where it sits and whether it is constricting the plant.
Compare texture, extent and timing
| Observation | Useful next question |
|---|---|
| Firm, stable surface mark | Has it changed since the last photograph? |
| Indentation beneath an attachment | Is the fastener pressing into tissue? |
| Soft or wet deteriorating area | How far does it extend, and is the surrounding stem still firm? |
| Collapse near the medium surface | What is the condition of the root zone and drainage? |
| New damage after handling | Was the plant bent, cut or tied differently? |
Use gentle inspection; repeated squeezing can itself damage tissue. Mark the extent on a photograph, not by scratching a boundary into the stem. A change in that boundary is easier to evaluate if the next image uses a comparable angle.
Check the root zone and care history
Record recent watering, repotting, cutting and support changes. Check moisture and any water trapped in the outer cover. Deterioration in a persistently wet setup requires a broader investigation rather than more water because leaves are drooping.
University of Maryland Extension describes several causes of wilting and stem decline, including root rots and stem cankers. A home inspection cannot identify a pathogen merely from a dark patch. Use the wet-pot checklist when those conditions are present.
Choose an intervention after assessment
Do not cut every dark-looking area automatically. If tissue is deteriorating, assess whether healthy material remains and seek diagnostic help when the extent is unclear. Clean tools and a protected workspace matter if affected material is removed. Keep deteriorated material away from the fresh setup and other plants.
Repotting should address a demonstrated root-zone or container problem, not serve as the default response to a surface mark. The repotting guide covers preparation and handling; it does not guarantee rescue of a plant with major stem damage.
If a healthy cutting is considered
A remaining healthy stem section may be suitable for propagation, but it must contain the appropriate structures. A large leaf on a deteriorating stalk is not a substitute for a node and growth point. Check the identification guide before taking material.
The propagation guide explains the rooting setup. Do not place deteriorating material into water and assume rooting will reverse the damage. Survival depends on the condition of the material and subsequent care.
Evidence to provide when asking for help
- Whole-plant and close-up photographs from comparable angles
- The exact stem location and whether the tissue is firm or soft
- A timeline of visible changes and recent handling
- Moisture, container and drainage observations
- Details of any treatment or cutting already performed
Rapid collapse or continuing deterioration deserves prompt reassessment. An old leaf’s appearance alone cannot establish that the stem has recovered, and there is no dependable fixed recovery deadline.
Reference
University of Maryland Extension: Diagnose Indoor Plant Problems provides the diagnostic context. This location and observation checklist does not confirm a disease from a photograph.


Post Comment